Effortlessly Setting Up Your Django Environment Using Devcontainer
Simplify Your Django Development Workflow with Visual Studio Code and Docker
Introduction

Developing applications using the Django framework requires a specific set of development environment configurations, such as the Python interpreter version, packages, libraries, and dependencies. In this blog, we will discuss the process of setting up a dev container for a Django environment using Visual Studio Code.
What is a Devcontainer?
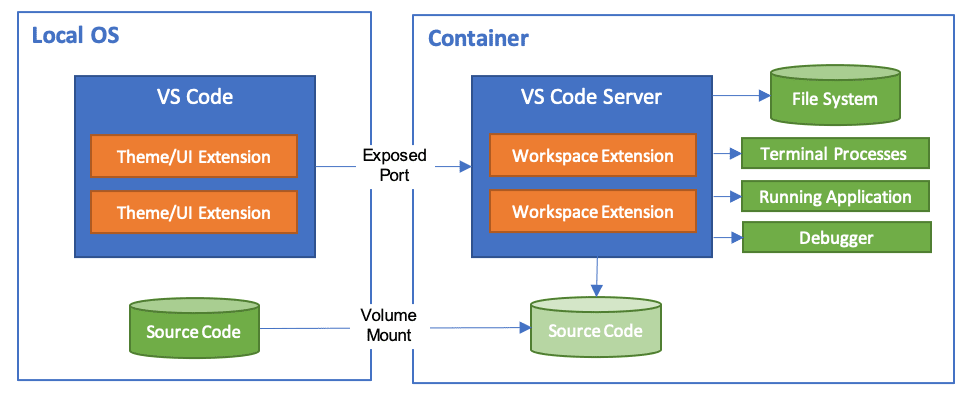
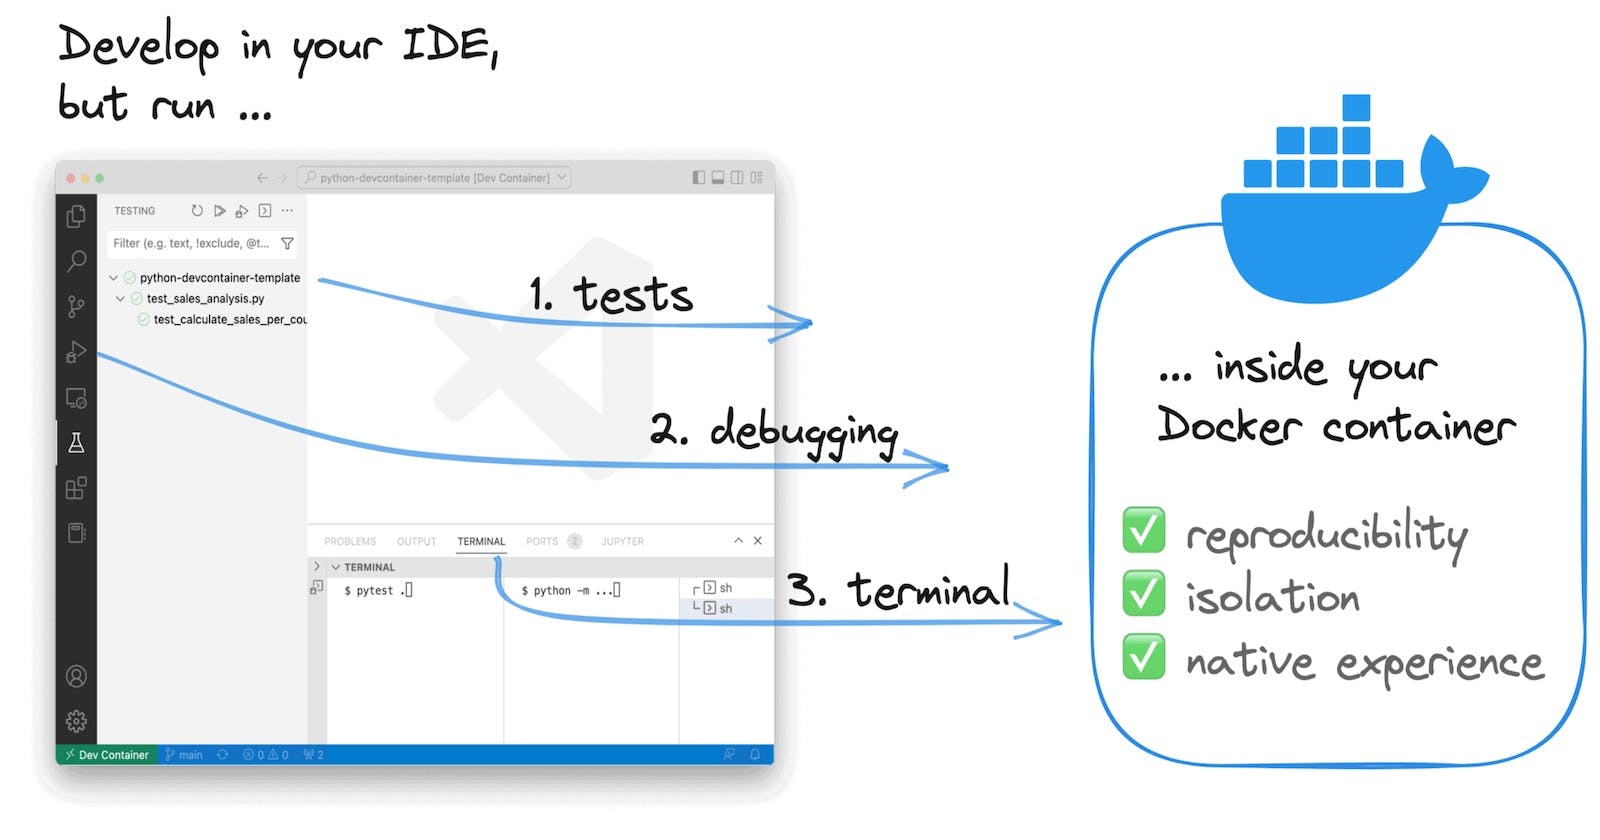
A Devcontainer is a preconfigured development environment that enables developers to work with a consistent development environment across different operating systems and platforms. It uses Docker to create an isolated environment for the development process, which ensures that all dependencies are correctly installed and configured. With Devcontainers, developers can work with their preferred tools and configurations without affecting the underlying system.
Prerequisites
Before setting up the dev container for Django, ensure that you have the following software installed:
Visual Studio Code
Docker
Docker Compose
Setting up the Devcontainer

To set up the dev container for Django, follow these steps:
Open Visual Studio Code and create a new folder for your Django project.
In the root folder, create a new file named
Dockerfileand add the following content:
# Dockerfile for Python 3.8 with pipenv
FROM python:3.8
RUN apt-get update && apt-get install -y --no-install-recommends \
    curl \
    git \
    && rm -rf /var/lib/apt/lists/*
RUN pip install --upgrade pip \
    && pip install pipenv \
    && rm -rf /root/.cache/pip/*
ENV PIPENV_VENV_IN_PROJECT=1
This Dockerfile defines a new Docker image based on the python:3.8 image installs the required dependencies, and sets the environment variable PIPENV_VENV_IN_PROJECT to 1, which ensures that the virtual environment is created in the project directory.
- Create another file named
devcontainer.jsonin the root folder and add the following contents:
{
    "name": "Python 3.8 with Pipenv",
    "dockerFile": "Dockerfile",
    "service": "app",
    "workspaceFolder": "/workspace",
    "extensions": [
        "ms-python.python",
        "visualstudioexptteam.vscodeintellicode",
        "dbaeumer.vscode-eslint",
        "ms-azuretools.vscode-docker"
    ],
    "settings": {
        "python.pythonPath": "/workspace/.venv/bin/python"
    },
    "forwardPorts": [8000],
    "runArgs": ["--service-ports"]
}
This file defines the dev container configuration, including the Dockerfile to use, the service name, workspace folder, required extensions, Python interpreter path, and port forwarding.
- Next, create a file named
docker-compose.ymlin the root folder with the following contents:
version: "3.8"
services:
  app:
    build:
      context: .
    volumes:
      - .:/workspace:cached
    command: pipenv run python manage.py runserver 0.0.0.0:8000
    ports:
      - 8000:8000
This file defines the Docker Compose configuration for the dev container, including the service name, build context, volume mapping, the command to run the Django development server, and port forwarding.
- Finally, open the project folder in Visual Studio Code and click on the
Remote-Containers: Reopen in Containercommand from the Command Palette (Ctrl+Shift+P).
This will rebuild the Docker image and launch the dev container, which will automatically install the required packages, libraries, and dependencies for the Django environment.
